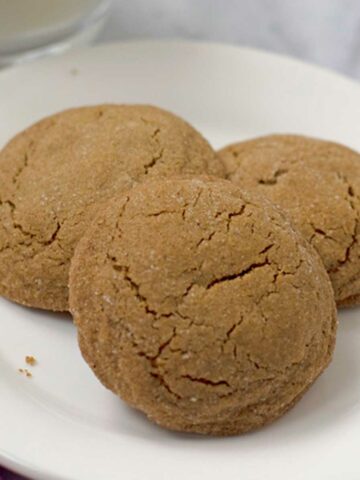
This is an easy gluten free sugar cookie recipe for decorating with your choice of frosting colors. These gluten free cut out cookies that don't spread are soft, tender, and perfect any time of year.

Jump to:
The frosted sugar cookies are soft on the inside and crisp around the edges. And the almond flavored frosting makes them perfectly sweet and melt-in-your-mouth delicious. No one will guess they're gluten free!
(This post contains affiliate links. Read my disclosure policy here.)The inspiration for these sugar cookies came from Artisanal Gluten-Free Cooking, a cookbook I purchased a few years ago. I have recommended the cookbook to family and friends because of the great results I get from the recipes.
I'd been missing the traditional cut-out cookies I grew up with, and a gluten free version sounded like the perfect solution. With Valentine's Day just around the corner, a heart-shaped cookie cutter seemed the natural choice. And pink and white frosting completed the look.
If you need a little chocolate for your Valentine's Day, try my Gluten Free Chocolate Sour Cream Bundt Cake. It's chocolate glaze on chocolate cake and totally delicious.
And while dark chocolate is a favorite of mine, right now these soft sugar cookies are calling my name.
Why this Recipe Works
- Using cream of tartar and baking soda gives lift and a soft and tender texture to the cookies.
- The vanilla and almond extracts add warmth and flavor.
- Using butter adds an extra layer of flavor.
Ingredient Notes
For the Cookies
- Butter - Unsalted butter at room temperature.
- Powdered sugar - Also known as confectioner's sugar. The powdered sugar makes the cookies extra tender.
- Egg - One large egg at room temperature.
- Vanilla - Pure vanilla extract.
- Almond extract - Pure almond extract.
- Gluten free flour blend - I use Bob's Red Mill Gluten Free 1 to 1 Baking Flour to make this cookie recipe.
- Baking soda - The baking soda helps the cookies rise. Be sure to check the expiration date on the box to make sure your baking soda is fresh.
- Cream of tartar - The cream of tartar makes the sugar cookies a little chewy.
For the Frosting
- Powdered sugar - The powdered sugar gives the frosting a smooth and silky consistency.
- Shortening - The shortening makes the frosting light and fluffy.
- Milk - I use unsweetened almond milk.
- Almond extract - Pure almond extract.
(Always read the labels to make sure your ingredients are gluten free.)
Step By Step Instructions
(For ingredient amounts see the recipe card at the bottom of the post.)
Make the Cookies
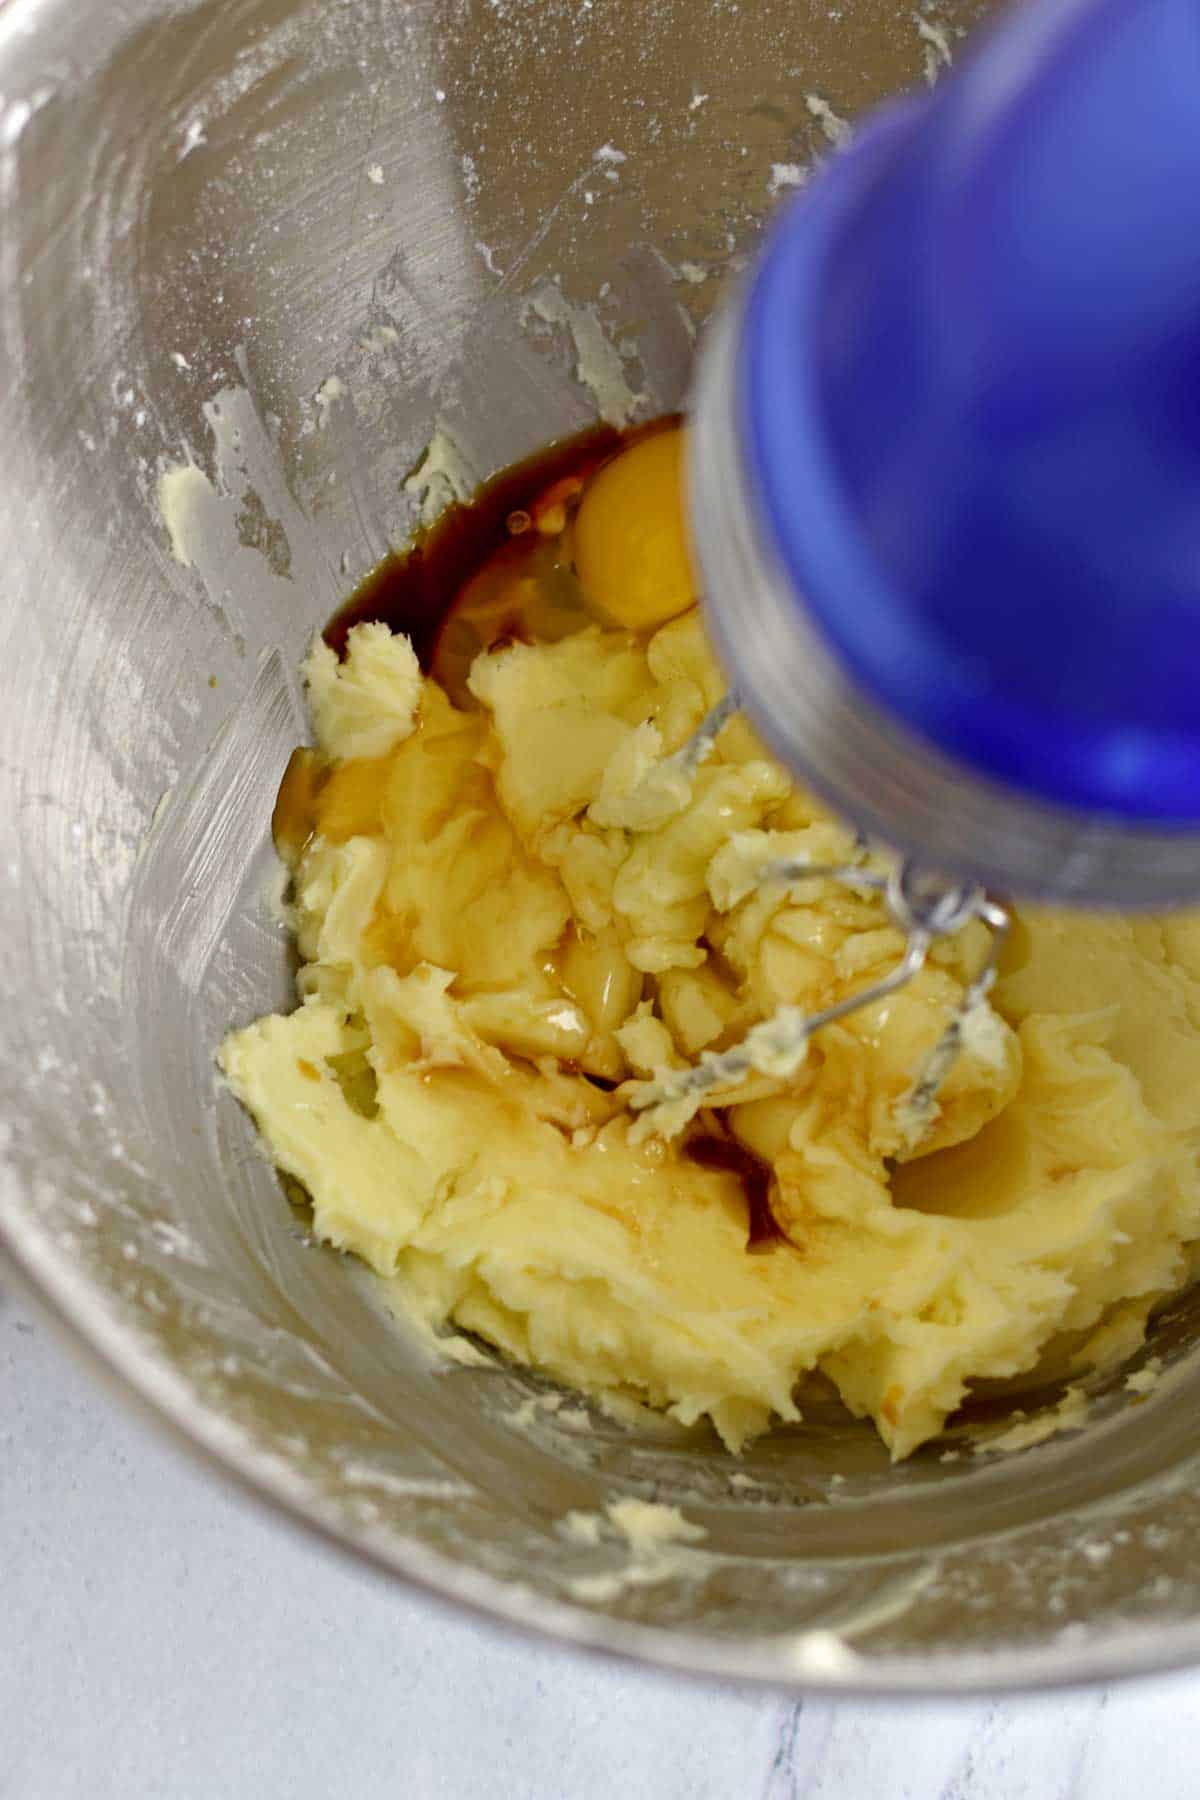
In a large mixing bowl, beat the butter and powdered sugar until well combined. Add the egg, vanilla, and almond extract and beat until combined.
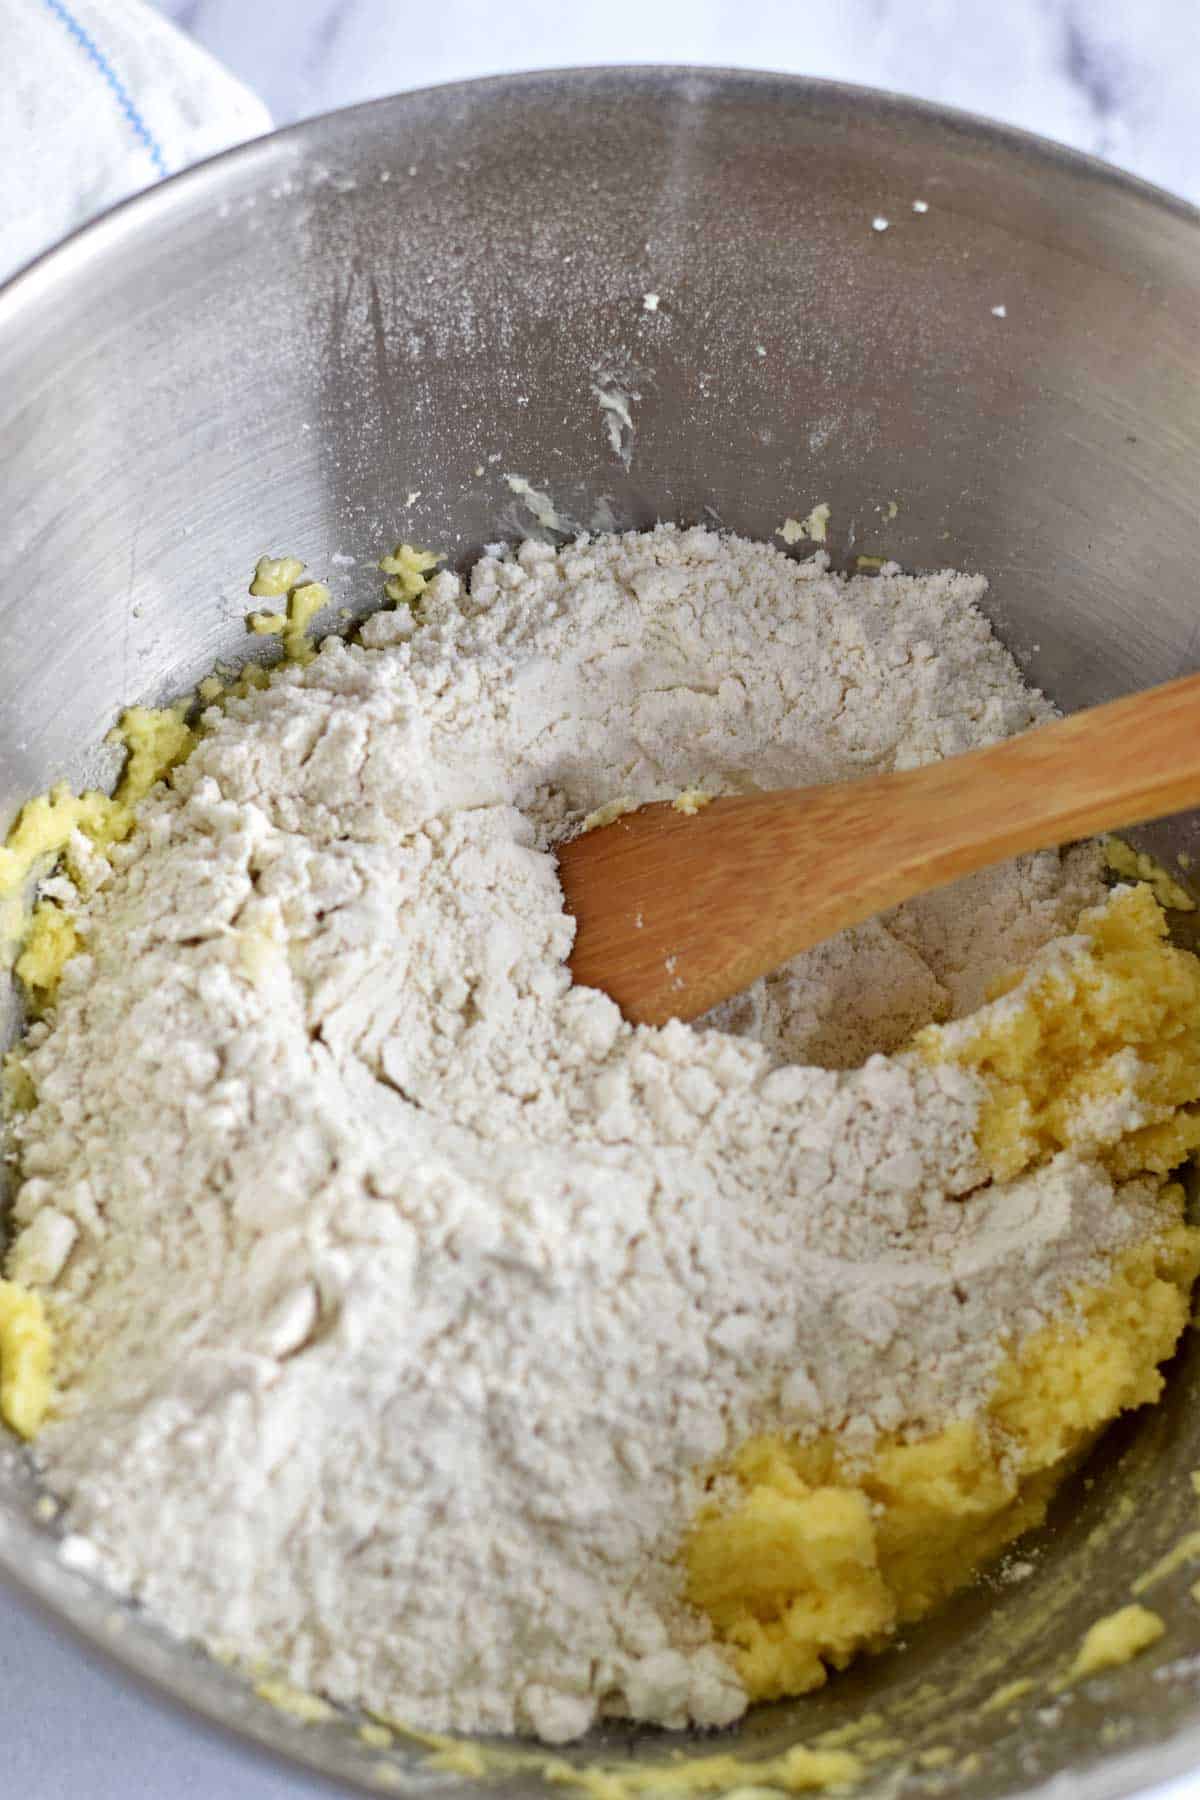
In a medium mixing bowl, whisk together the flour, baking soda, and cream of tartar.
Add the flour mixture to the butter mixture and stir until completely incorporated.
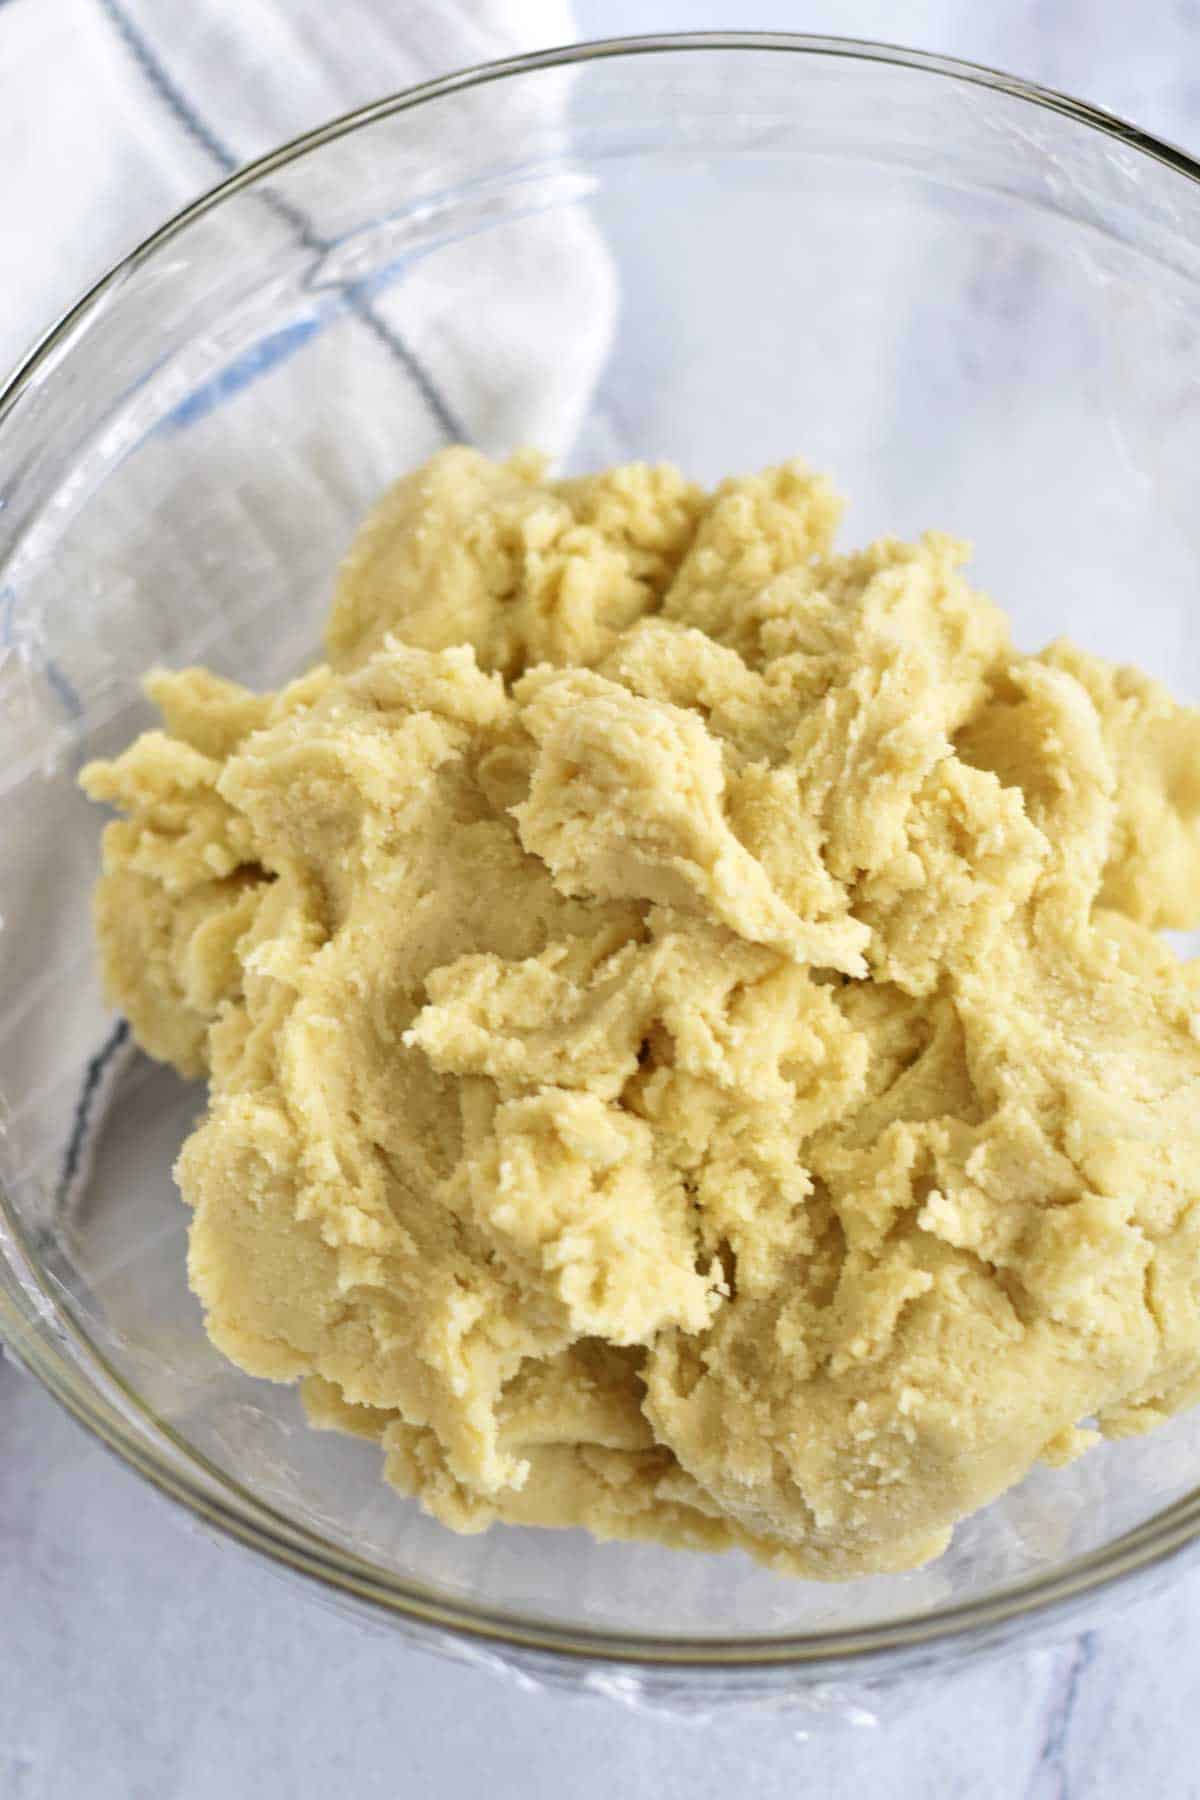
Transfer the dough to a smaller bowl and cover with plastic wrap. Chill the cookie dough in the refrigerator for at least 30 minutes.
When you're ready to bake the cookies, preheat the oven to 375° F.
Roll out a small section of the dough, between 2 pieces of plastic wrap, into a ¼-inch-thick sheet.
Use a cookie cutter, dipped in gluten free flour, to cut out shapes.
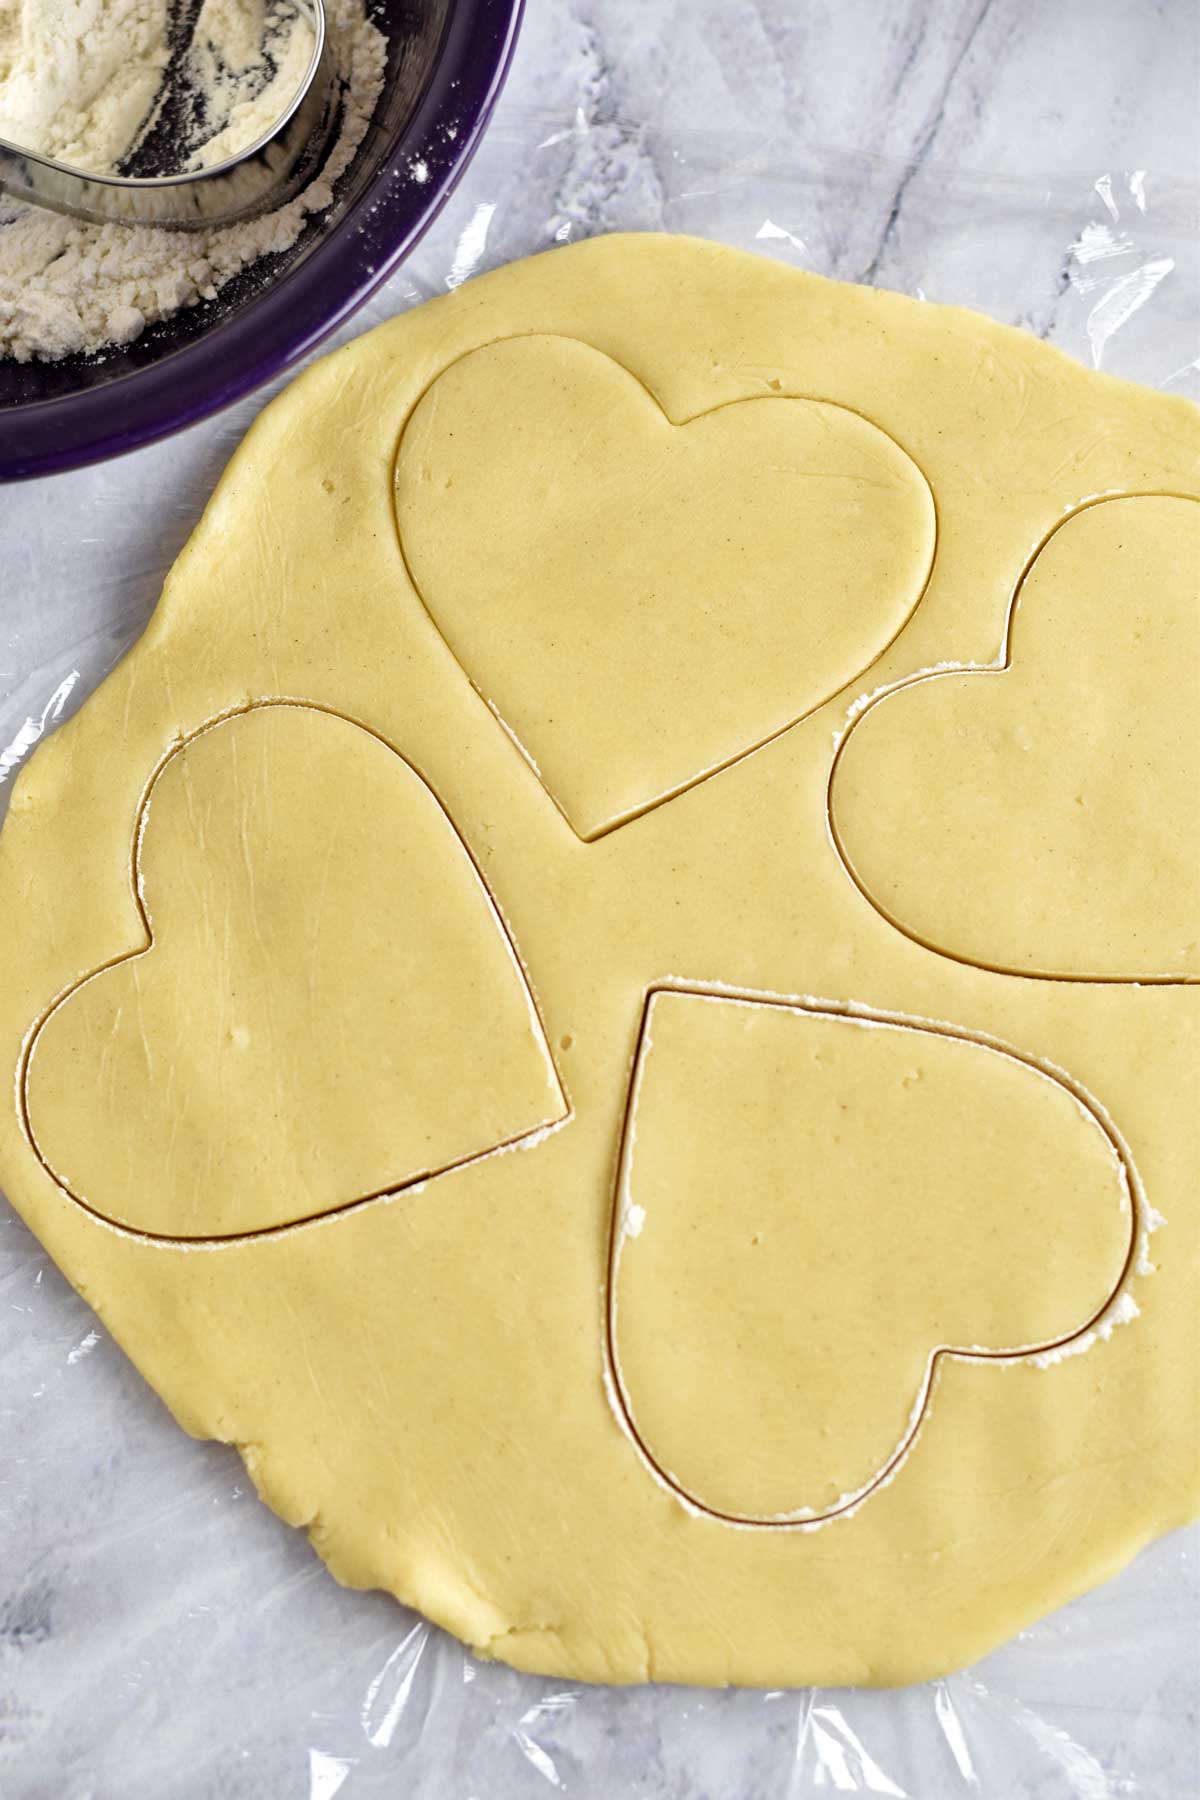
Carefully remove the shapes and place on an ungreased baking sheet. Continue rolling the dough, and cutting out shapes, until all the dough has been used.
Bake the cookies for 8-10 minutes, until the edges start to turn brown.
Let the cookies cool for 5 minutes on the pan before transferring to a wire rack to cool completely.

Make the Frosting
Stir together the powdered sugar, shortening, almond milk, and almond extract until smooth.
To color the frosting, add a couple of drops of food coloring and stir until completely combined. Add more food coloring to deepen the shade.
I split the frosting into two bowls and added 2 drops of red food coloring to one bowl to make half the frosting pink.
Once the sugar cookies are completely cooled, decorate them with the frosting.

A vanilla buttercream frosting is standard for sugar cookies. I change it up by substituting shortening for the butter and almond extract for the vanilla. The butter gives the frosting a yellow tint and I prefer the whiter color I get with the shortening.
Recipe Tips and FAQs
- Check your gluten free flour mix for xanthan gum. If the mix doesn't contain xanthan gum, try adding 1 and ½ teaspoons to the recipe. I use Bob's Red Mill Gluten Free 1 to 1 Baking Flour which contains xanthan gum.
- Chill the dough for 30 minutes or longer. Chilling the dough allows it to firm up and make it easier to work with when rolling it out.
- Work with a small amount of dough at a time. Form the dough into a small flat disc with your hands before rolling it out (the heat from your hands will soften the dough and make it more manageable.)
- Dip the cookie cutters in a small amount of gluten free flour to keep the dough from sticking.
- Cool the cookies completely before adding the frosting. Warm cookies will cause the frosting to run.
- If the frosting is too thick, add a little almond milk to achieve the desired consistency. For a thicker frosting add more powdered sugar.
Be sure to use a good quality cup-4-cup gluten free baking flour when making these cookies. I use Bob's Red Mill 1 to 1 Baking Flour which contains xanthan gum.
Xanthan gum helps to hold baked goods together. In traditional baking, gluten in all-purpose flour acts as the binding agent for the baked good. Gluten free baking requires a replacement for the binding agent and that's where xanthan gum comes in.
Your results may vary depending on the gluten free flour you use. I don't recommend using almond flour or coconut flour with this recipe.
If you want to roll out the dough to make cut out cookies, you need to chill the dough. Using chilled dough keeps the cookies from spreading.
If you're short on time, you can skip the step of chilling the dough and make drop cookies. Use a cookie scoop to drop the dough about 2 inches apart onto the baking pans. Gently press the cookies down with the palm of your hand and bake as directed.
Make sure the frosting has completely set up before storing the cookies. Store the cookies in an airtight container for 4-5 days. Keep the container on the counter rather than in the refrigerator. Baked goods tend to dry out when stored in the fridge.
The cookies can also be frozen, in a freezer safe container, for up to 2 months.

This recipe can work for any occasion throughout the year. Given all the shapes and sizes of cookie cutters available, the possibilities are endless.
If you've given up gluten, by choice or necessity, but still miss those cut-out cookies you loved as a child give these frosted sugar cookies a try. They're soft on the inside, crisp around the edges, and melt-in-your-mouth delicious! Enjoy!
More Gluten Free Cookie Recipes to Try
- No Bake Cookies
- Oatmeal Chocolate Chip Bars
- Pumpkin Snickerdoodles
- Lemon Cookies with Lemon Glaze
- Toasted Coconut Butterscotch Oatmeal Cookies
- Peanut Butter Oatmeal Cookies
- Healthier Chocolate Chip Cookies
If you tried this recipe or any other recipe on the blog, don't forget to leave a star rating and let me know how it turned out in the comments below. I really enjoy hearing from you!
You can also FOLLOW ME on Facebook, Instagram and Pinterest to see more of the delicious food I'm making!
Recipe

Gluten Free Frosted Sugar Cookies
Ingredients
For the Cookies:
- 1 cup unsalted butter, softened
- 1 ½ cups powdered sugar
- 1 egg
- 1 teaspoon vanilla extract
- ½ teaspoon almond extract
- 3 cups gluten free flour blend
- 1 teaspoon baking soda
- 1 teaspoon cream of tartar
For the Frosting:
- 3 cups powdered sugar
- 2 tablespoons shortening
- ¼ cup almond milk
- 1 teaspoon almond extract
Instructions
Make the Cookies:
- In a large mixing bowl, beat the butter and powdered sugar until well combined.
- Add the egg, vanilla, and almond extracts and beat until combined.
- In a medium mixing bowl, whisk together the flour, baking soda, and cream of tartar.
- Add the flour mixture to the butter mixture and stir until completely incorporated.
- Transfer the dough to a smaller bowl and cover with plastic wrap. Chill the dough in the refrigerator for at least 30 minutes.
- When you're ready to bake the cookies, preheat the oven to 375 degrees.
- Roll out a small section of the dough, between 2 pieces of plastic wrap, into a ¼-inch-thick sheet.
- Use a cookie cutter, dipped in gluten free flour, to cut out shapes. Carefully remove the shapes and place on an ungreased cookie sheet.
- Continue rolling out small sections of dough, and cutting out shapes until all the dough has been used.
- Bake the cookies for 8 to 10 minutes, until the edges start to turn brown.
- Let the cookies cool for 5 minutes on the pan before transferring to a wire rack to cool completely.
Make the Frosting:
- Stir together 3 cups powdered sugar, 2 tablespoons shortening, ¼ cup almond milk, and 1 teaspoon almond extract until smooth.
- Stir in additional almond milk or powdered sugar to achieve the desired consistency.
- Once the cookies are completely cooled, decorate them with the frosting.
Notes
- Check your gluten free flour mix for xanthan gum. If the mix doesn't contain xanthan gum, try adding 1 and ½ teaspoons to the recipe. I use Bob's Red Mill Gluten Free 1 to 1 Baking Flour which contains xanthan gum.
- Chill the dough for 30 minutes or longer. Chilling the dough allows it to firm up and make it easier to work with when rolling it out.
- Work with a small amount of dough at a time. Form the dough into a small flat disc with your hands before rolling it out (the heat from your hands will soften the dough and make it more manageable.)
- Dip the cookie cutters in a small amount of gluten free flour to keep the dough from sticking.
- Cool the cookies completely before adding the frosting. Warm cookies will cause the frosting to run.
- If the frosting is too thick, add a little almond milk to achieve the desired consistency. For a thicker frosting add more powdered sugar.
Recipe slightly adapted from Artisanal Gluten-Free Cooking
Nutrition
Nutrition Disclaimer
Nutritional information provided is an estimate and will vary based on products and brands you use. You should calculate the actual nutritional information with the ingredients you are using with your preferred nutrition calculator.
This post was originally published in 2018. It was edited in 2019 to include step by step directions and nutritional information. It was updated in 2023 with updated images, additional text and FAQs.


Comments
No Comments