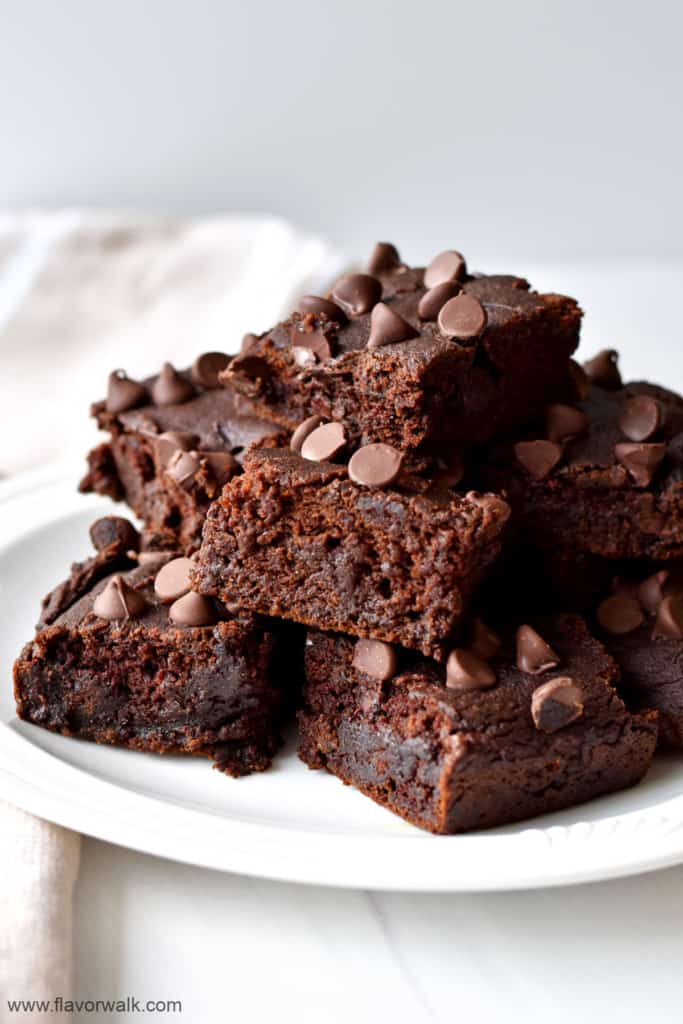
These Gluten Free Pumpkin Brownies are tender, chocolatey and super easy to make. Since the addition of pumpkin makes these brownies a little healthier, you can enjoy more than one without any guilt.
If you enjoy baking with pumpkin, you’ll want to try my Gluten Free Pumpkin Snickerdoodles. My recipe for Easy Gluten Free Pumpkin Muffins is also a must try.
We’re into the fall season, my favorite time to bake, and everywhere you turn there are so many fun things to add to your baking experience. There’s apples, caramel, cinnamon, cranberries, molasses, and of course pumpkin.
What I like about pumpkin is how it blends so well with other flavors. And you can usually find pumpkin puree year round at an inexpensive price.
I’m excited to share this recipe for pumpkin brownies. I know pumpkin is probably not the first ingredient you think about when it comes to brownies, but you'll be surprised at how well the pumpkin enhances the brownie flavor.
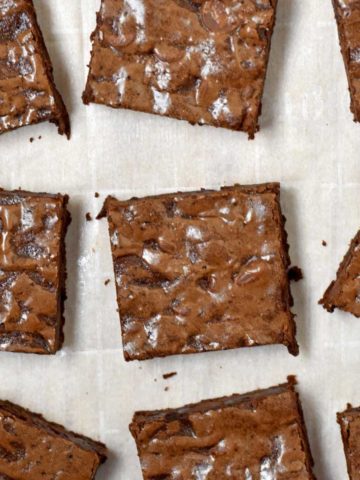
These brownies are more cake-like, than fudgy and they’re topped with sweet chocolate chips. They’re moist and tender, due to the pumpkin, and best of all they’re gluten free.
(This post contains affiliate links. Read my disclosure policy here.)Ingredients You’ll Need to Make Pumpkin Brownies:
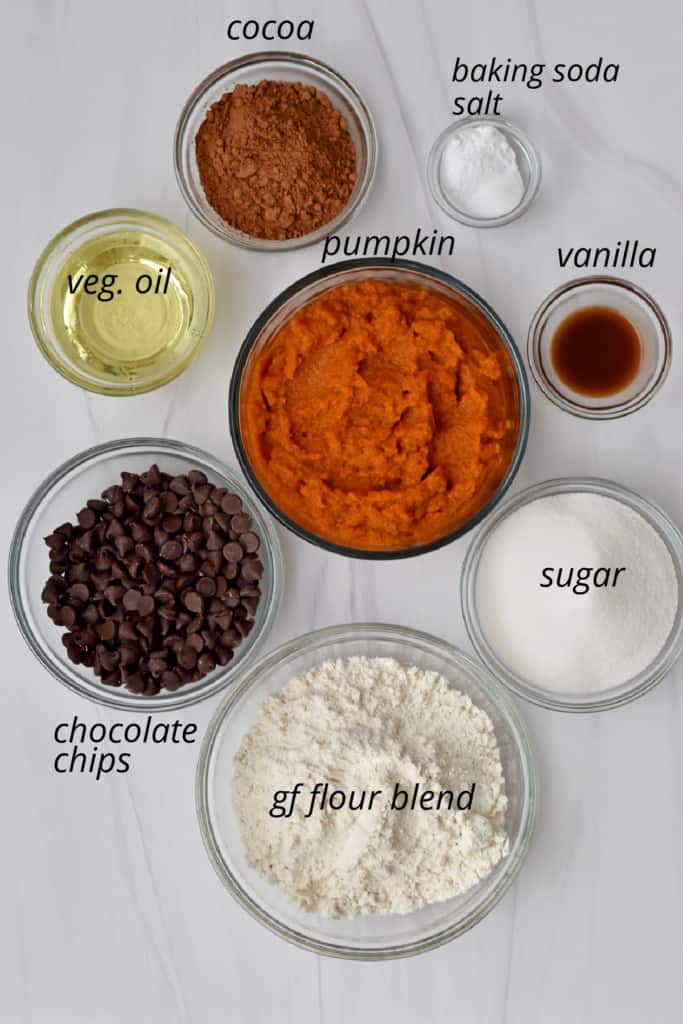
- Gluten free flour blend - I use Bob’s Red Mill 1 to 1 Baking Flour. If your local store doesn't carry Bob's Red Mill, you can find it online at Amazon and Thrive Market. I haven’t tried the recipe with almond or coconut flour.
- Sugar - White granulated sugar.
- Cocoa - Unsweetened cocoa powder. I use Hershey’s cocoa powder.
- Baking soda - The baking soda gives a little lift to the brownies making them less fudgy and more cake-like in texture.
- Salt - Table salt.
- Vegetable oil - You can substitute canola oil if you prefer.
- Vanilla - Pure vanilla extract.
- Pumpkin - Use pure pumpkin, not pumpkin pie filling.
- Chocolate chips - I use semi-sweet chips.
How to Make Gluten Free Pumpkin Brownies
- Whisk together the gluten free flour, sugar, cocoa powder, baking soda, and salt.
- In a separate bowl, whisk together the oil, vanilla, and pumpkin until combined.
- Add the dry ingredients to the pumpkin mixture and stir to combine.
- Stir in half the chocolate chips, then transfer to the prepared baking pan.
- Sprinkle the remaining chocolate chips over the batter.
- Bake for 30 minutes.
Step By Step Instructions
Start by preheating the oven to 350° F. Line a 9x13-inch baking pan with parchment paper.
In a medium mixing bowl, add the gluten free flour blend, sugar, cocoa powder, baking soda, and salt, then whisk until combined.

In a large mixing bowl, add the oil, vanilla, and pumpkin and whisk together until combined.

Add the dry ingredients to the pumpkin mixture and stir until smooth.

Stir ½ cup of chocolate chips into the brownie batter.

Transfer the batter to the prepared pan. Use a rubber spatula to smooth the batter evenly around the pan.
Scatter remaining ½ cup chocolate chips over the top of the brownies.
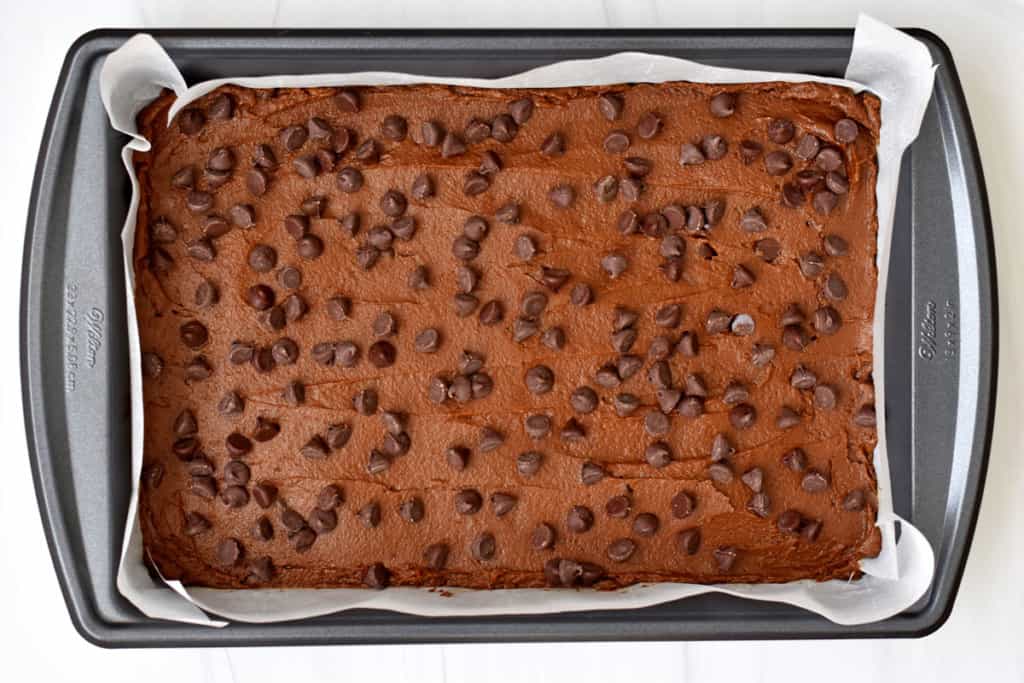
Bake for 30 minutes or until a wooden pick inserted in the middle comes out with a few crumbs.
Allow the brownies to cool, on a wire rack, for at least an hour before serving.
Baker’s Tips
- Check the ingredients of your gluten free flour blend for xanthan gum. If your flour mix doesn’t contain xanthan gum, try adding ½ teaspoon to the recipe.
- When measuring out your gluten free flour blend use the “spoon and level” method. Use a spoon to scoop the flour into your measuring cup and then use the back of a table knife to level off the top. Scooping the flour out with the measuring cup can add more flour than needed in the recipe.
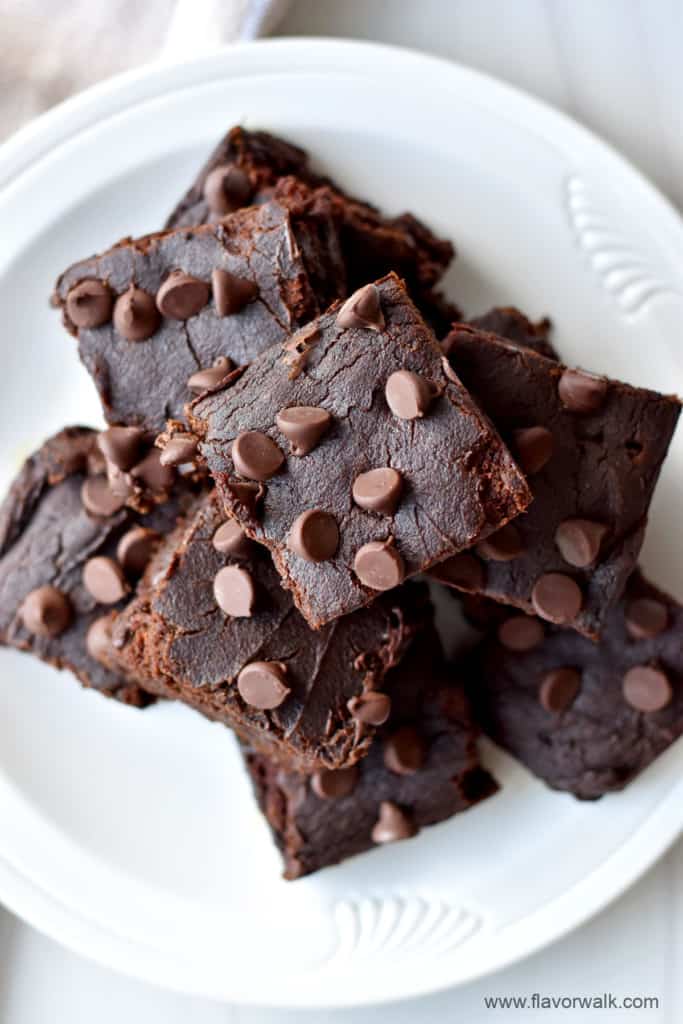
- Allow the brownies to cool completely before serving. Brownies that have cooled completely are easier to cleanly cut.
Recipe FAQs
Place the brownies in an airtight container and store them on your counter for 2-3 days. If you want to keep the brownies for a longer period, you can freeze them.
To freeze the brownies, wrap them individually in plastic wrap, and place them in a freezer-safe plastic bag. The brownies will last in the freezer for up to 2 months.
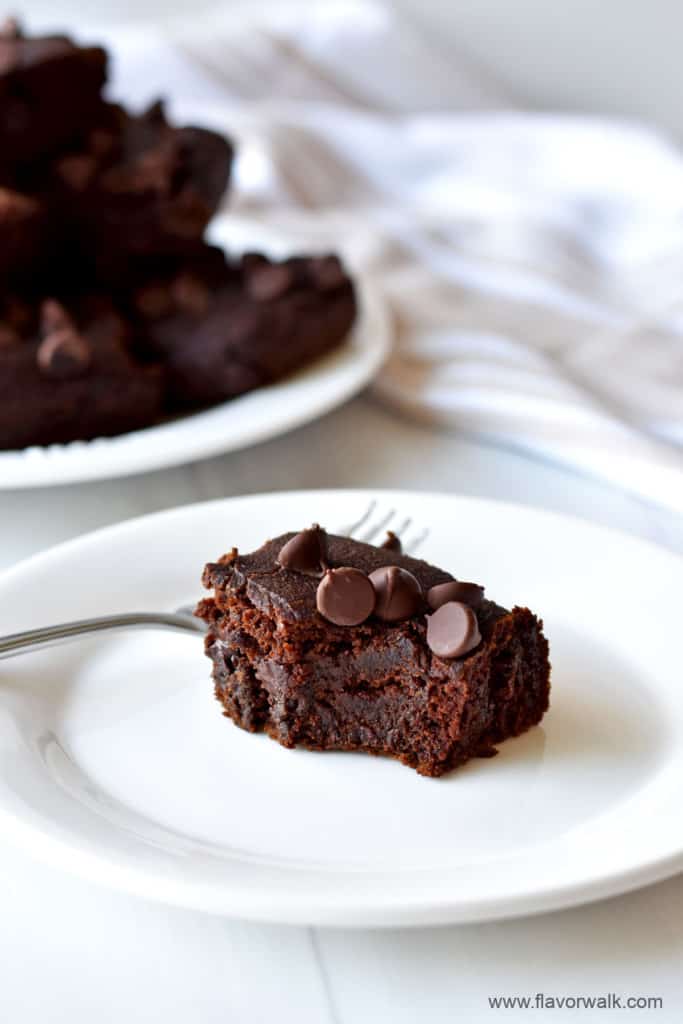
If you like chocolatey brownies, give these pumpkin brownies a try. The canned pumpkin makes these brownies super moist and a little bit healthier, so go ahead and have more than one! Happy Baking!
More Gluten Free Brownie Recipes to Try
- Peanut Butter Brownies
- Pumpkin Brownies
- Red Velvet Brownies
- Rich Chocolate Pecan Brownies
- Triple Chocolate Chip Brownies
- White Chocolate Coconut Brownies
- Zucchini Brownies
If you tried this recipe or any other recipe on the blog, don't forget to leave a star rating and let me know how it turned out in the comments below. I really enjoy hearing from you!
You can also FOLLOW ME on Facebook, Instagram and Pinterest to see more of the delicious food I'm making!
Recipe
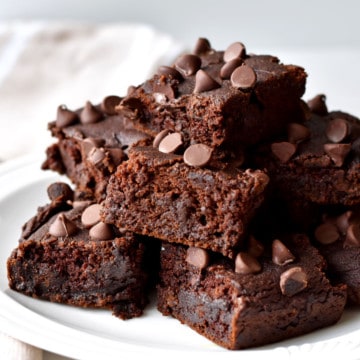
Easy Gluten Free Pumpkin Brownies
Ingredients
- 2 cups gluten free flour blend
- 1 cup granulated sugar
- ½ cup unsweetened cocoa powder
- 2 teaspoons baking soda
- ½ teaspoon salt
- ½ cup vegetable oil
- 2 teaspoons vanilla extract
- 2 ½ cups pumpkin puree
- 1 cup semi-sweet chocolate chips, divided
Instructions
- Preheat oven to 350° F. Line a 9x13-inch baking pan with parchment paper.
- In a medium mixing bowl, add gluten free flour blend, sugar, cocoa powder, baking soda, and salt, then whisk until combined.
- In a large mixing bowl, add oil, vanilla, and pumpkin and whisk together until combined.
- Add the dry ingredients to the pumpkin mixture and stir until smooth.
- Stir in ½ cup chocolate chips.
- Transfer the batter to the prepared pan. Use a rubber spatula to smooth the batter evenly around the pan.
- Scatter remaining ½ cup chocolate chips over the top of the brownies.
- Bake for 30 minutes or until a wooden pick inserted in the middle comes out with a few crumbs.
- Allow the brownies to cool, on a wire rack, for at least an hour before serving.
Notes
- Check the ingredients of your gluten free flour blend for xanthan gum. If your flour mix doesn’t contain xanthan gum, try adding ½ teaspoon to the recipe.
- When measuring out your gluten free flour blend use the “spoon and level” method. Use a spoon to scoop the flour into your measuring cup and then use the back of a table knife to level off the top. Scooping the flour out with the measuring cup can add more flour than needed in the recipe.
- Allow the brownies to cool completely before serving. Brownies that have cooled completely are easier to cleanly cut.
Nutrition
Nutrition Disclaimer
Nutritional information provided is an estimate and will vary based on products and brands you use. You should calculate the actual nutritional information with the ingredients you are using with your preferred nutrition calculator.
This recipe was adapted from Kirbie’s Cravings.

Shari says
Made these today and they turned out great.
Julia Dabbs says
Loved these! Wonderfully moist and not overly sweet. They were a hit! (p.s. I did add more choc chips as well as chopped walnuts for the topping, prior to baking)